Laura Geller makeup is easiest to shop the way a working artist actually applies it, moving from eyes to brows and concealer to cheeks rather than by launch date. The brand was built by a former Broadway makeup artist, and that backstage habit of building color area by area still holds. Here is the kit organized the way I would actually reach for it, face area by face area.
How I Would Work Through A Laura Geller Makeup Kit, Feature By Feature
Eyes: liners, shadows and mascara
When Max Factor developed Pan-Cake for Technicolor film in the mid 1930s, it was because color cameras were unkind. Without corrective makeup, the company says, actors' faces turned brick red or blue on screen. Pan-Cake first appeared in Vogues of 1938, in 1937, applied with a damp sponge, and actresses began taking it home. Makeup, in other words, has always been built for a particular light.
Laura Geller makeup comes from the theater side of that story. She spent years as a theatrical and television makeup artist, including backstage on Broadway, before opening her studio on Manhattan's Upper East Side. The brand describes its own approach as wearable and educational, with a low glow finish meant for every skin type rather than something that cakes or creases. I think that is the right instinct for anyone who wants to learn a face in order.
So I would start at the eyes, the way a backstage artist would. The trick is to pick one line, one shadow and one mascara, and keep the rest of the shelf in reserve. Kajal Longwear Eyeliner and the INKcredible Waterproof Gel Eyeliner Pencil are the two liners to compare, both made to hold up through a long day. Swipe-n-Line is a cream shadow stick and liner in one pass, which is the fastest lid look here. Waterproof Spackle Eye Hues is the waterproof pick for lids, and the Delectables Earthy Essentials palette is the one to reach for when you want a full lid look from a single compact.
For lashes, Long-n-Lifted Tubing Mascara, Kajal Longwear Mascara and Always There Waterproof Mascara are three different moods, so read the names and choose the one that matches the day.
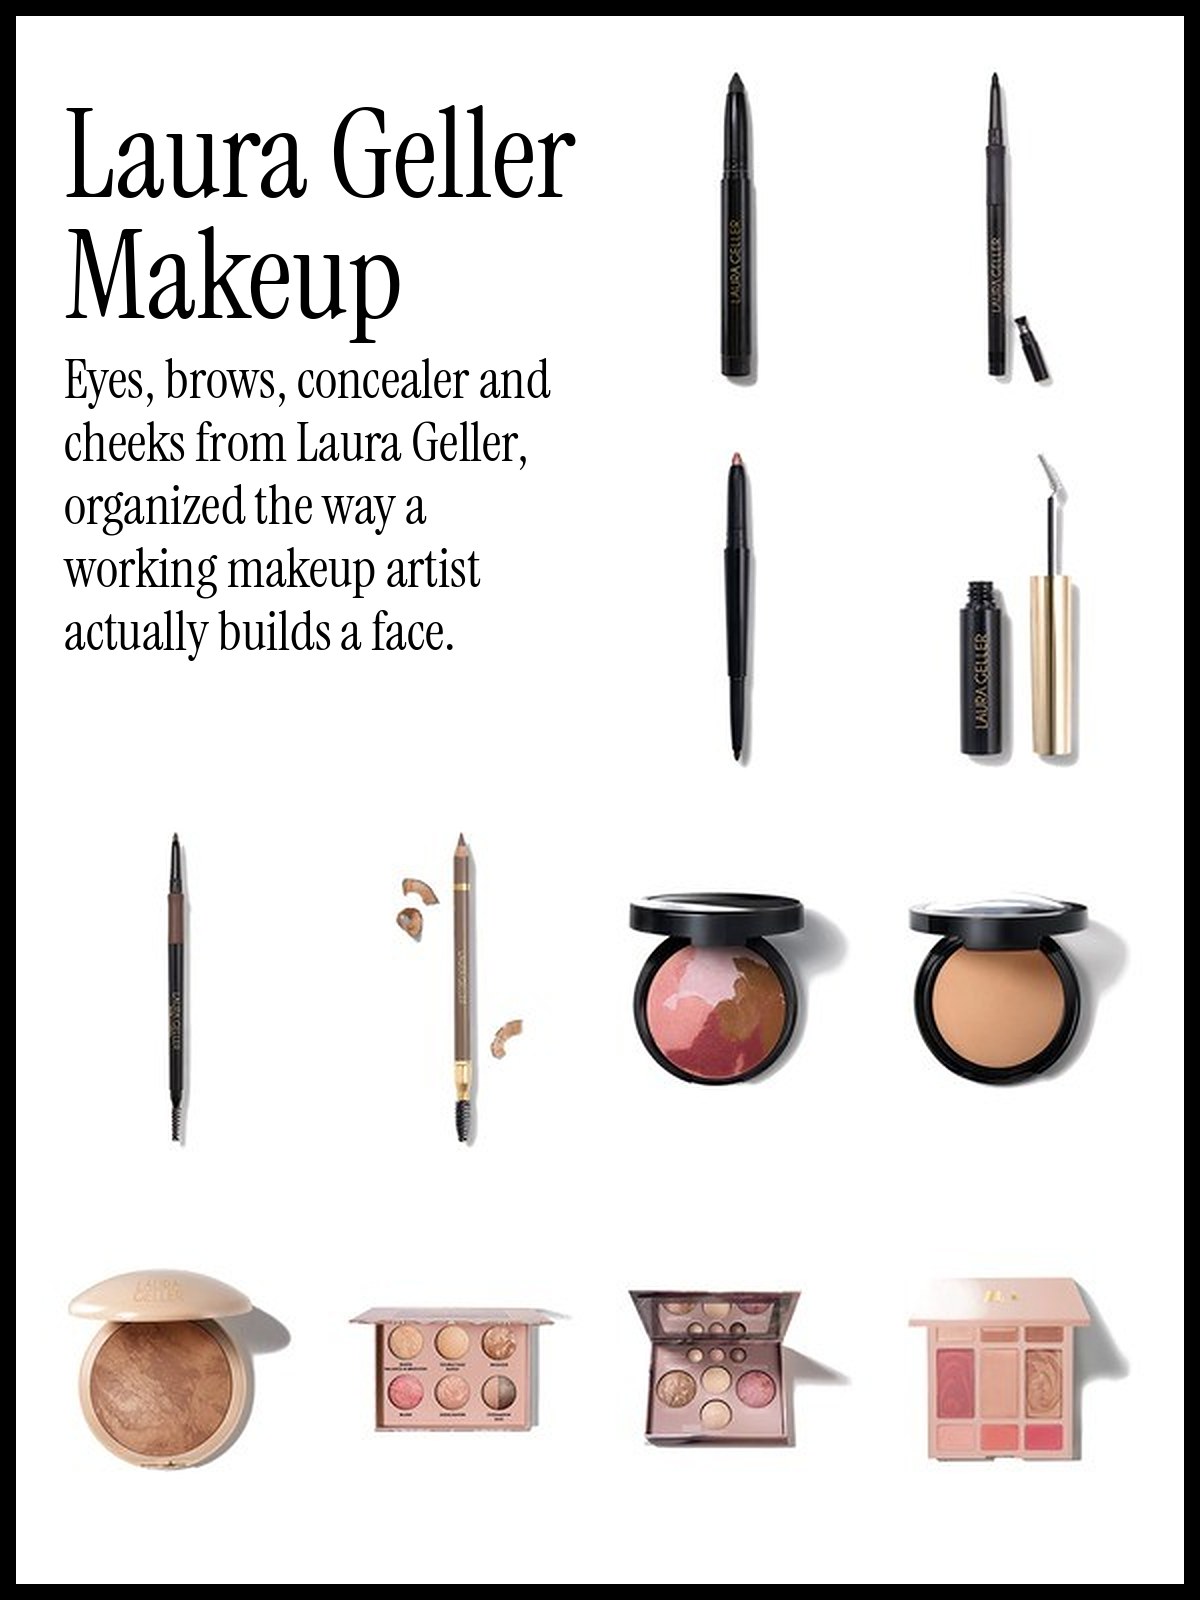
Eyes: liners, shadows and mascara

Kajal Longwear Eyeliner
Laura Geller
$24

INKcredible Waterproof Gel Eyeliner Pencil
Laura Geller
$24

Swipe-n-Line Cream Eyeshadow Stick & Eyeliner
Laura Geller
$24

Waterproof Spackle Eye Hues
Laura Geller
$24

Long-n-Lifted Tubing Mascara
Laura Geller
$26

Kajal Longwear Mascara
Laura Geller
$26

Always There Waterproof Mascara
Laura Geller
$26

Delectables Baked Eyeshadow Palette Earthy Essentials
Laura Geller
$28
Brows and concealers
Here is my order: brows first, concealer second. Brows change the whole frame of the face, and it is much easier to tidy the edges with concealer afterward than to try to fix concealer with a brow pencil.
Sculpt-n-Stay Brow Gel is the light option, the one to sweep through when your brows are already in decent shape. The INKcredible Waterproof Brow Pencil is for sparse spots and for humid days. Bravo Brows Soft Pencil + Brush is the morning shortcut, since the pencil comes with its own brush, and the Sculpt-n-Stay Waterproof Brow Pencil & Gel does both jobs in one tube, which is what I would put in a travel bag.
For concealers, Bright Stuff is the one made for the under eye, an illuminating formula for the shadows that show up when you are tired. Easy Cover Up is the hydrating one, a good place to start if your concealer usually settles into dry patches. Seamless Finish is the full coverage option for a spot or a blemish, and Ideal Fix sits in the middle.
A pairing I like: Bright Stuff under the eyes and Seamless Finish only where it is needed, then a fingertip to blend the two edges together. What I would skip: full coverage concealer over the whole under eye area on a day you are not photographing anything. Let the lighter formula do the everyday work.

Sculpt-n-Stay Brow Gel
Laura Geller
$20

INKcredible Waterproof Brow Pencil
Laura Geller
$24

Bravo Brows Soft Pencil + Brush
Laura Geller
$22

Sculpt-n-Stay Waterproof Brow Pencil & Gel
Laura Geller
$26

Easy Cover Up Hydrating Concealer
Laura Geller
$29

Bright Stuff Illuminating Under Eye Concealer
Laura Geller
$29

Seamless Finish Full Coverage Concealer
Laura Geller
$28

Ideal Fix Concealer
Laura Geller
$29
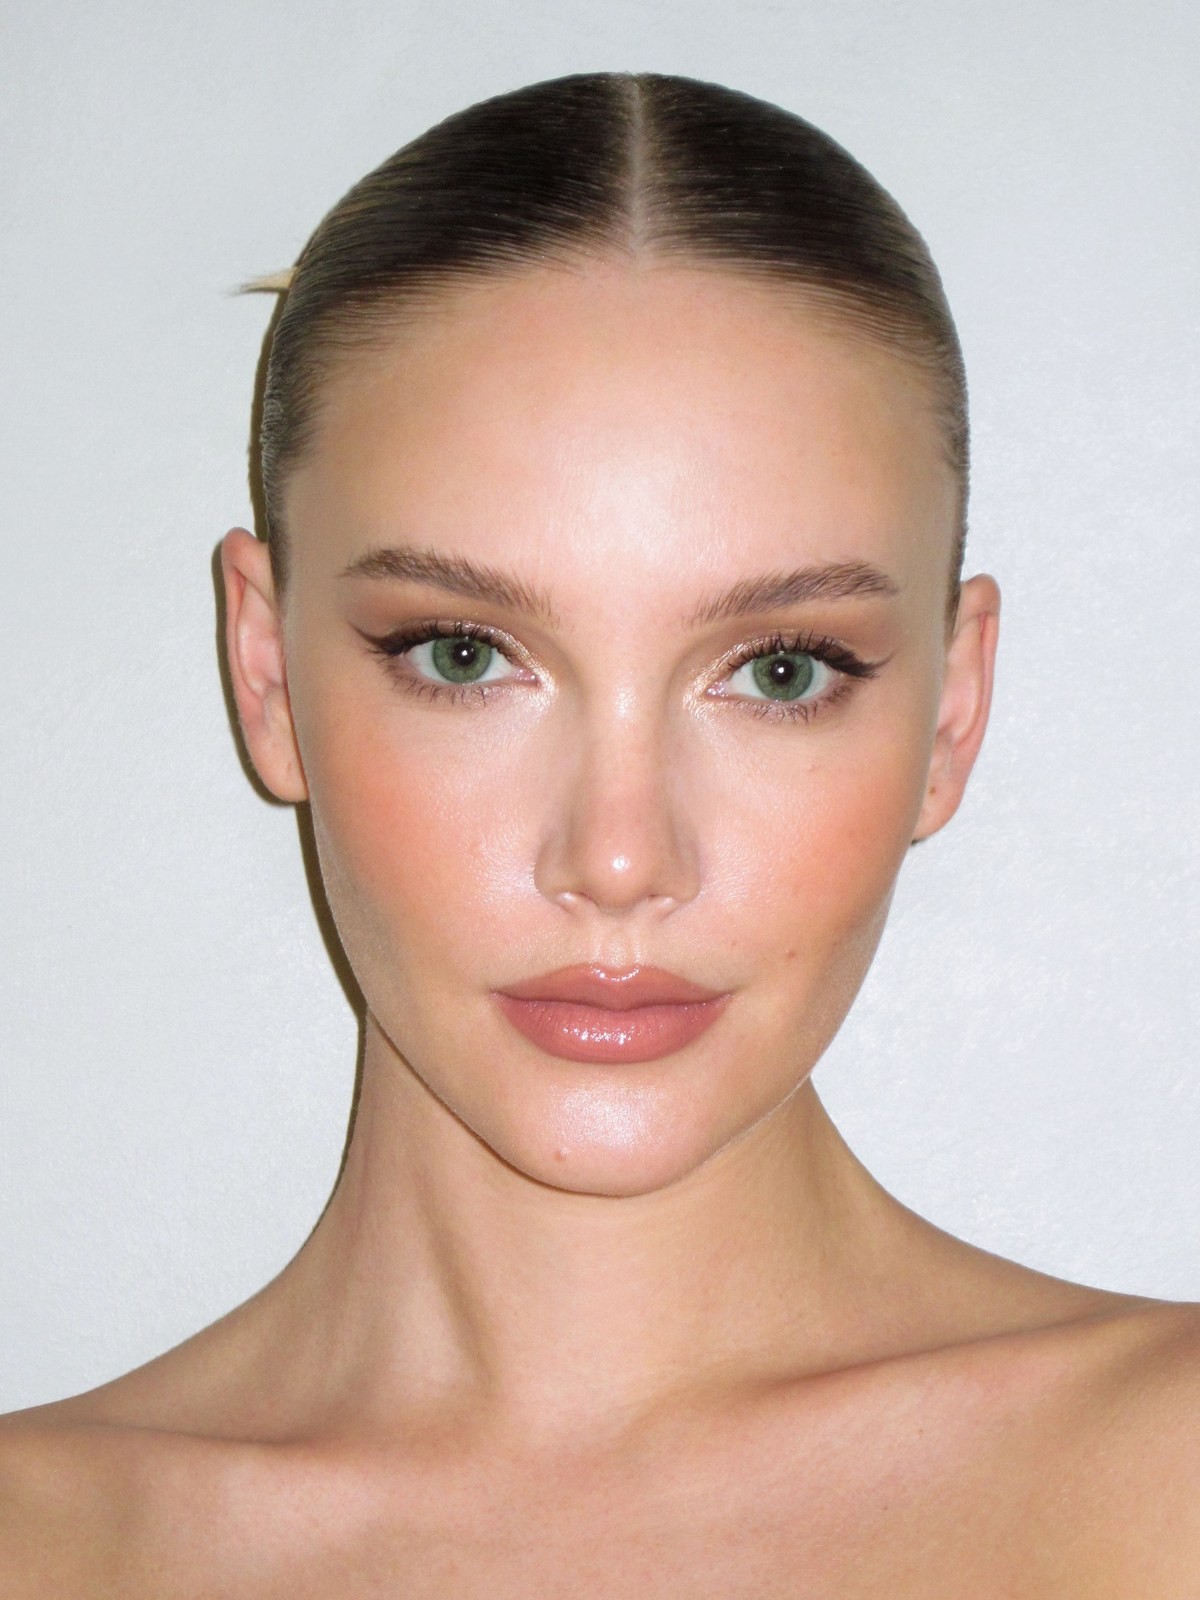
Cheeks: blush, bronzer and glow
Start with a habit worth borrowing: swirl your brush through the marbled compact instead of scooping one color. The brand says its Baked process, cream pigments baked onto terracotta tiles for 24 hours, is what gives these powders their cream-like feel, and the swirl is what lets you see it.
Baked Blush-n-Bronze is the two in one, and it is the easiest place to start if you own one cheek compact and want it to do more. Double Take Baked Bronzer and the Baked Illuminating Face + Body Bronzer are for warming the face, and the second one is meant to go further down the body too. Baked Body Frosting is the glow for shoulders and collarbones, the one to save for summer evenings or a dress with a low neckline.
If powder is not your finish, the Radiant Blush and Cream Craves Cream Blush both sit closer to the skin. They are what I would choose for a morning when powder feels like too much. Baked Marbleized Highlighter in Prosecco and the Baked Natural Glow Highlighter Quad round out the glow step, and the quad is the one for people who like to choose a shade on the day.
One pairing I like: cream blush first, then a light dusting of the baked bronzer over the top, so the color has depth without looking heavy.
What I would skip: stacking the body frosting and a shimmery highlighter on the same cheekbone. Choose one place for the light to land.

Baked Blush-n-Bronze Marbleized 2-in-1
Laura Geller
$15.99

Double Take Baked Bronzer
Laura Geller
$34

Baked Illuminating Face + Body Bronzer
Laura Geller
$45

Baked Body Frosting Face & Body Glow
Laura Geller
$15.99

Radiant Blush
Laura Geller
$10.99

Cream Craves Cream Blush
Laura Geller
$12.99

Baked Marbleized Highlighter | Prosecco
Laura Geller
$30

Baked Natural Glow Highlighter Quad
Laura Geller
$45
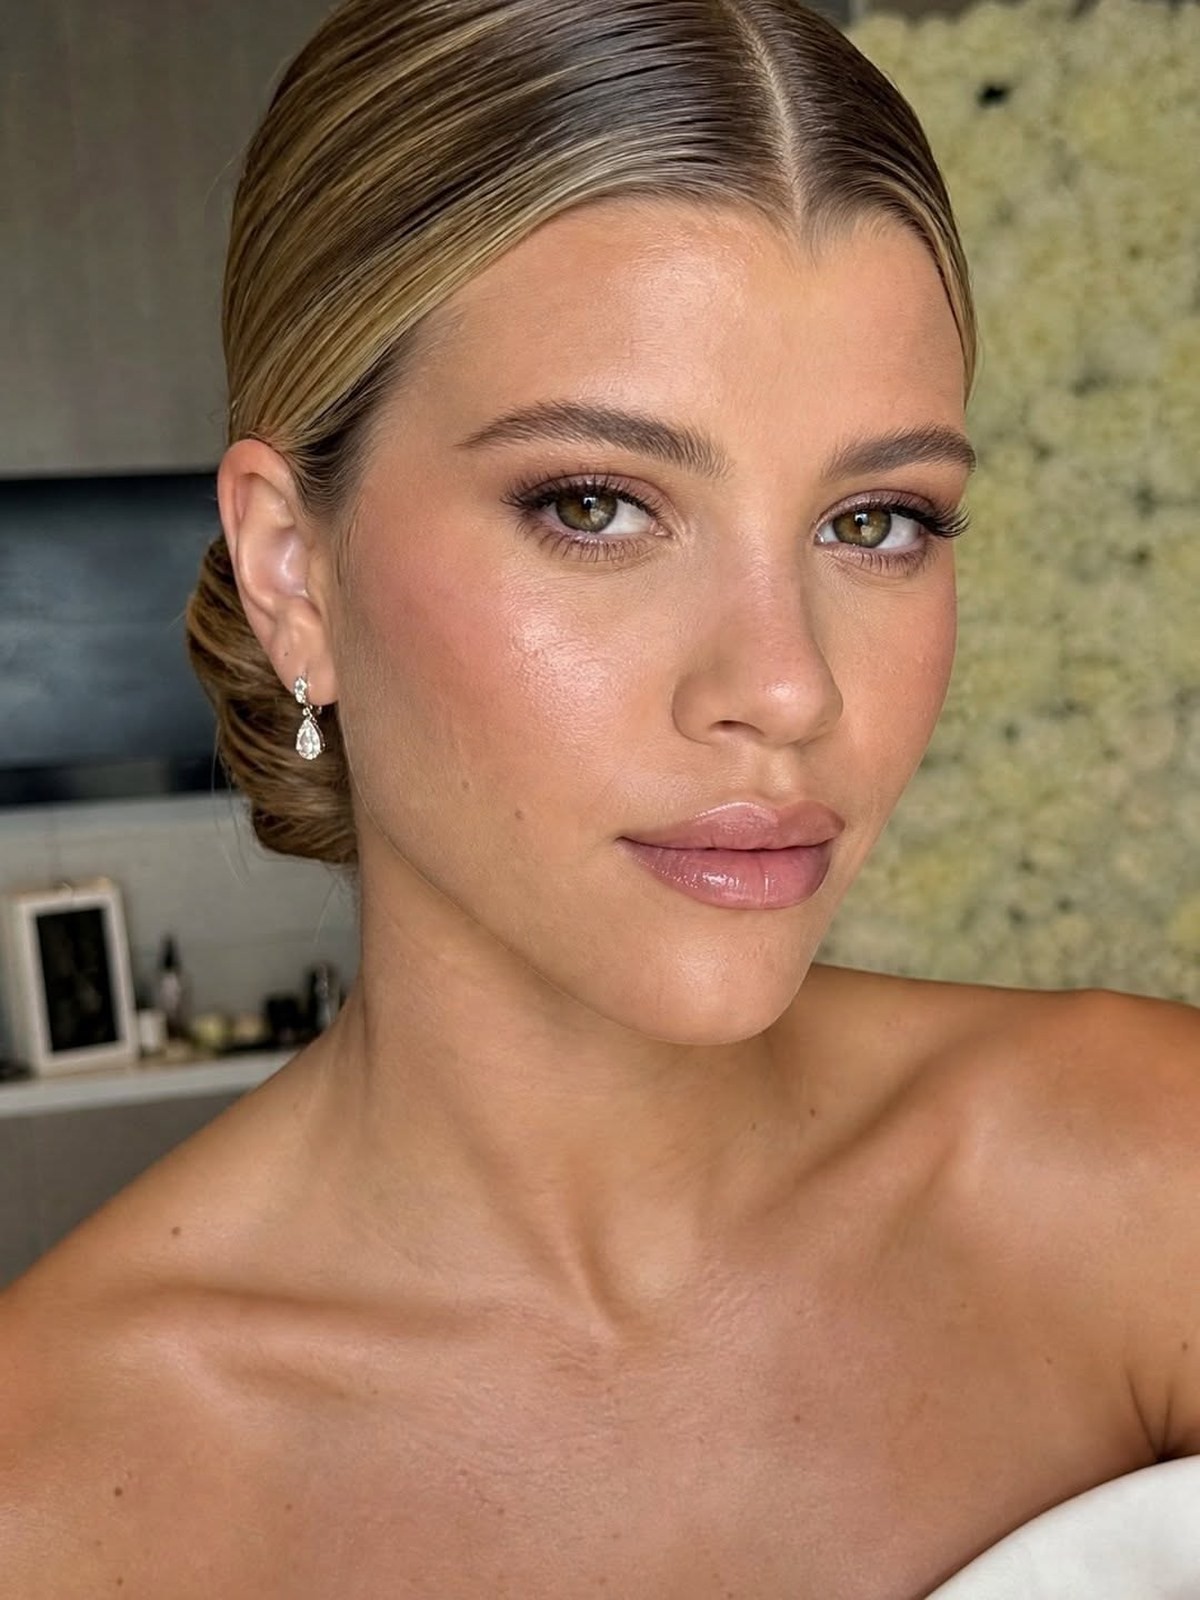
Palettes, brushes and a sponge
Here is how I would think about a palette: it is a shortcut through the same order, not a new set of rules. If the face is eyes, cheeks and glow, a good palette simply keeps them in one compact.
The Baked Icons Complete Full Face Palette and the Best of the Best Baked Face Palette are the two travel workhorses. The Hydrating Cream Color + Glow Palette is the newer, creamier one, so I would try it if you find powder drying. Keep one in a bag and the individual pieces at home.
Brushes are where the routine really comes together. The Wonder Brush is the one to start with, the Retractable Airbrush Kabuki Brush folds away for a bag, and the Full Coverage Foundation Blending Brush is made for the thicker textures on the shelf. Angled Blush Brush places color right where you want it. The Full Face Blending Sponge is the callback to Max Factor's damp sponge, and I mean that as a compliment, since some ideas from 1937 just keep working.
What I would skip: buying every brush at once. Start with the blending brush and the sponge, learn how the products want to be applied, and add the rest when you feel a gap.

Baked Icons Complete Full Face Palette
Laura Geller
$59

Best of the Best Baked Face Palette
Laura Geller
$52

Hydrating Cream Color + Glow Palette
Laura Geller
$39

Wonder Brush
Laura Geller
$24

Retractable Airbrush Kabuki Brush
Laura Geller
$26

Full Coverage Foundation Blending Brush
Laura Geller
$26

Full Face Blending Sponge
Laura Geller
$16

Angled Blush Brush
Laura Geller
$24
How I would build the routine
I think the best routine is the one you can do in the same order every day. Brows and eyes first, concealer next, then cheeks, then a little glow. A backstage artist does not think about it, and neither will you after a week.
Keep one palette in the bag and the individual pieces for a slow Sunday, and add a brush only when you feel a gap. If a step is not earning its place, drop it. The routine should get shorter as you get better at it, not longer.
Max Factor had Technicolor to solve for. You have a bathroom window and ten minutes, which is honestly kinder. If you want to keep browsing, I also put together How to Apply Laura Geller Baked Foundation, Brush or Sponge and RMS Beauty and the Makeup Artist Who Rebuilt Her Own Kit.